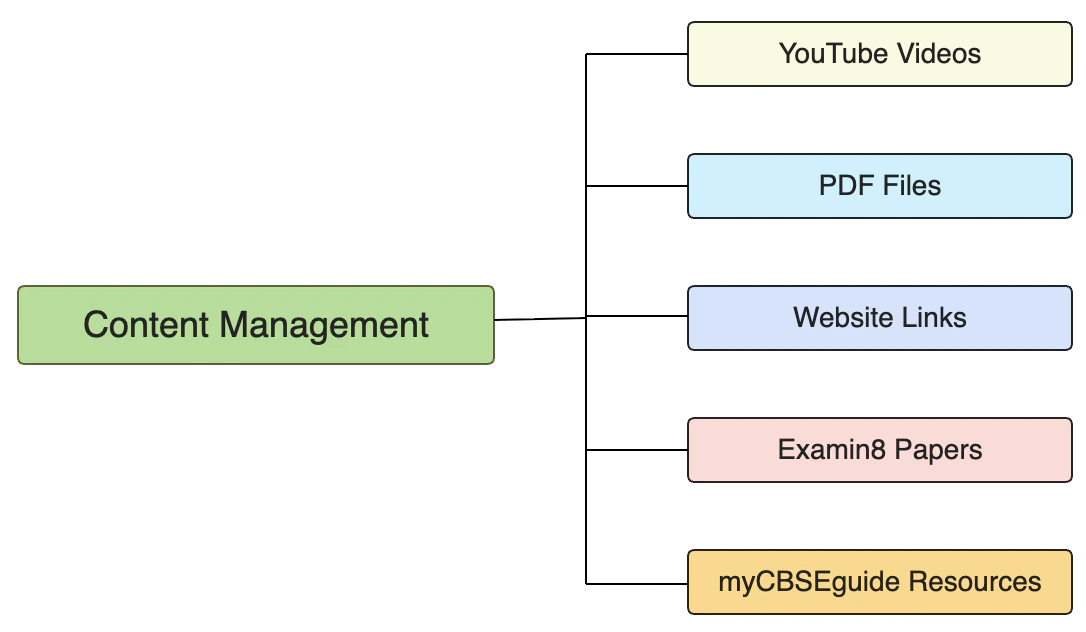
(1) Share YouTube Videos
You can share the subject-specific curated YouTube video links with your students online on the Examin8 Student Portal. Let’s take an example. You are a maths teacher and teaching maths to grade 10 students. You have a list of good YouTube videos that will help your students to understand the concepts. You have arranged them chapter-wise and want to share them with your students. Here is how you can do so on Examin8 Test Generator:- Go to Batches and click Manage
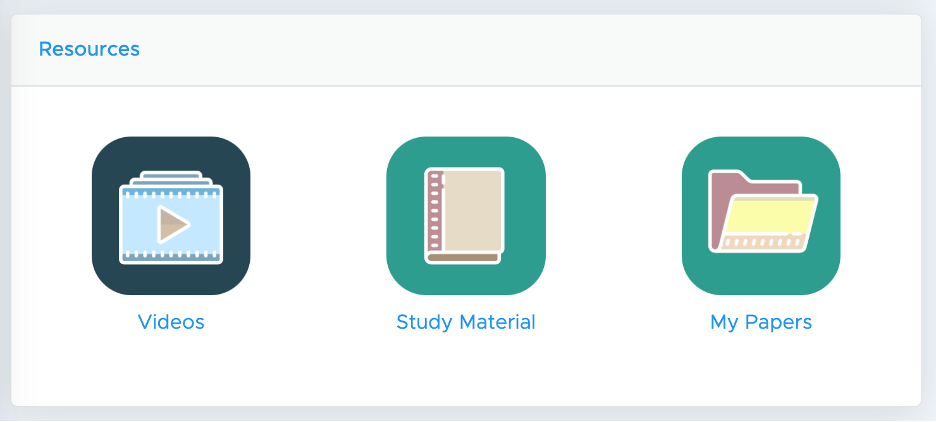
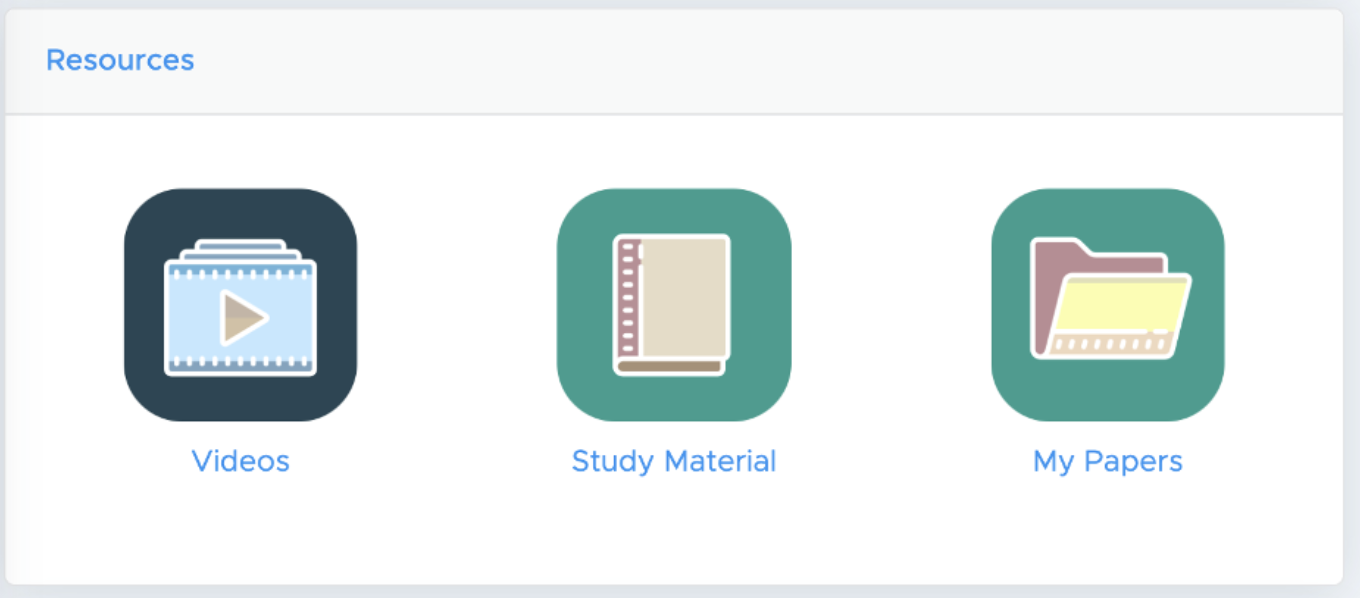
- Scroll the page down to resources and choose Videos
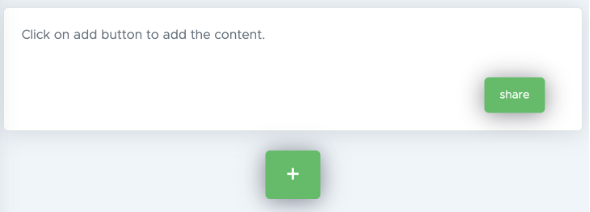
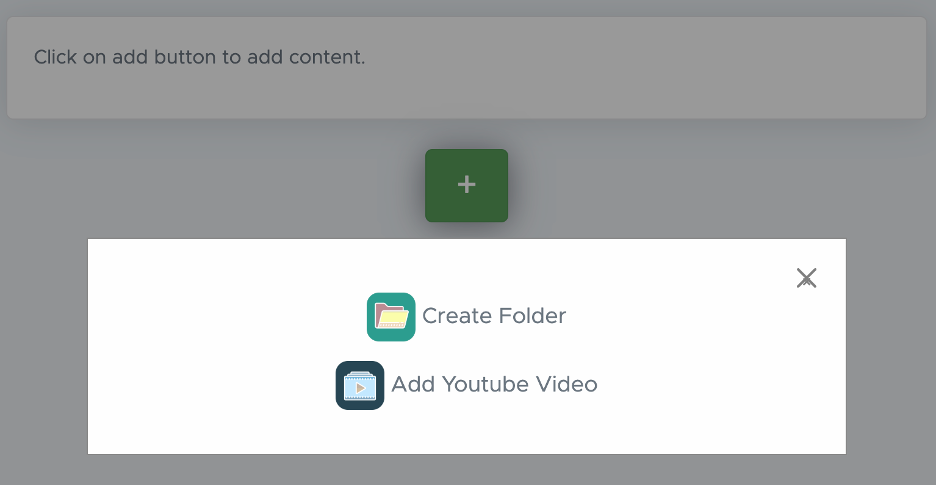
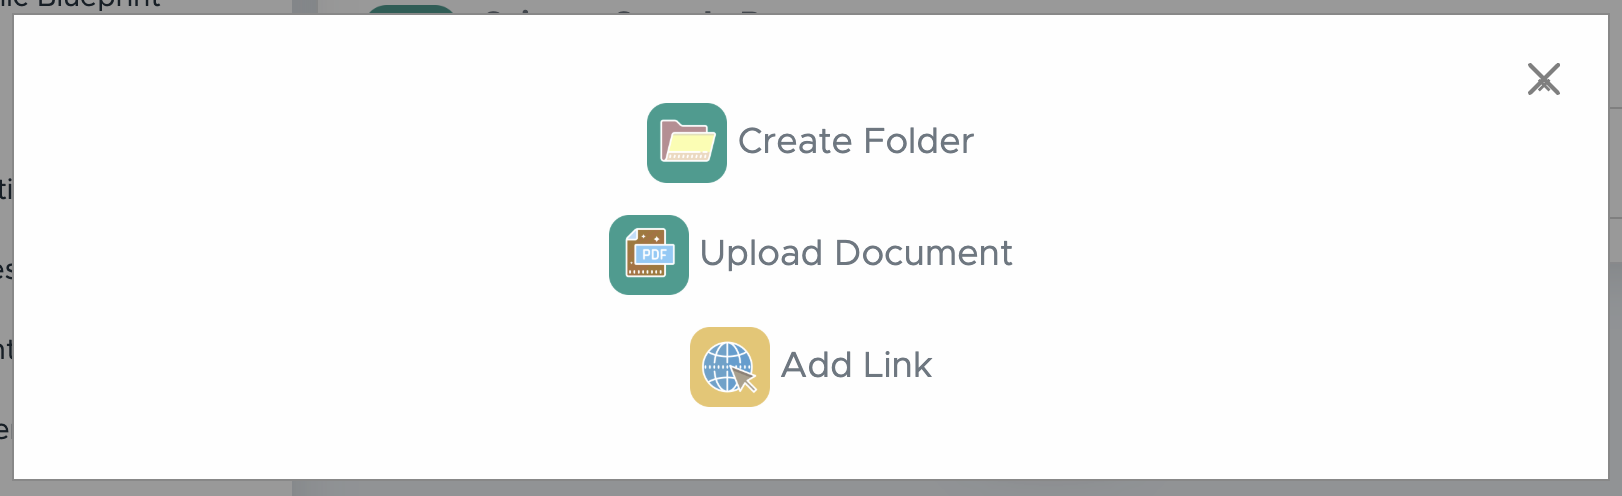
- Now, click on (+) icon and then click Create Folder.
- Name the folder as “Class 10 Maths”
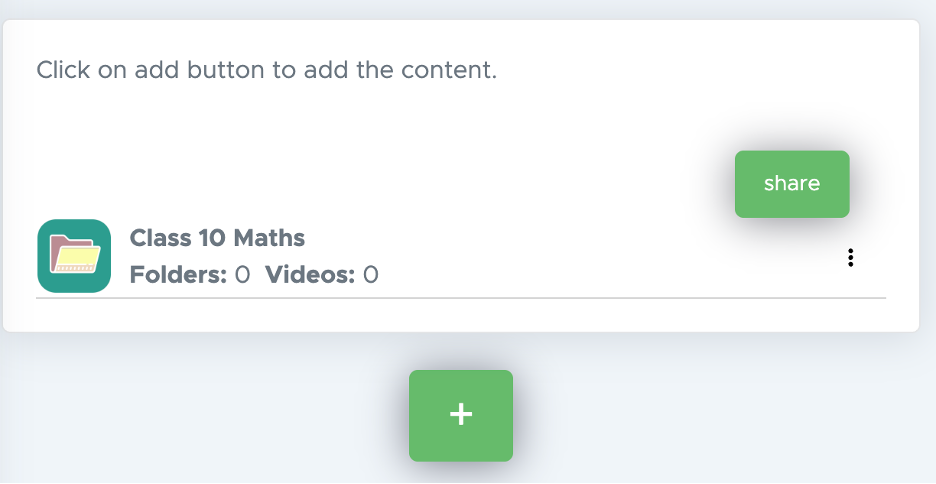
- Now, click on this folder and go inside.
- Click again on the (+) icon and create a folder named “Real Numbers” as a chapter. Repeat this step and create all chapters there.
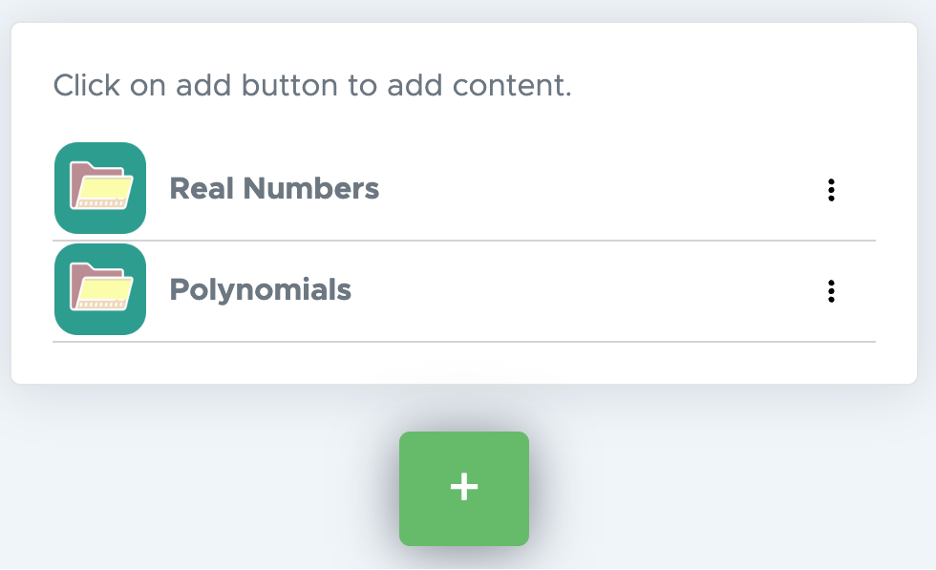
- Now, click on the folder name “Real Numbers” and go inside
- Here, click (+) icon and click Add YouTube Video”
- Now, from the YouTube Video link (Example: https://www.youtube.com/watch?v=q4ia5iBrZqo), take only the video code given after the = sign that is “q4ia5iBrZqo” in the above case.
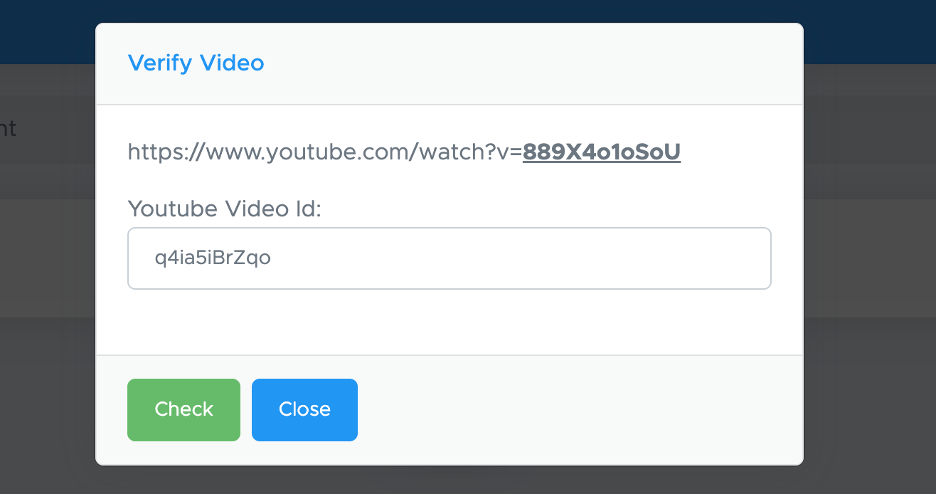
- Then click on the Check button.
- You will get the video title automatically. If required, you can edit the title and then select the desired batches and click the Save button.
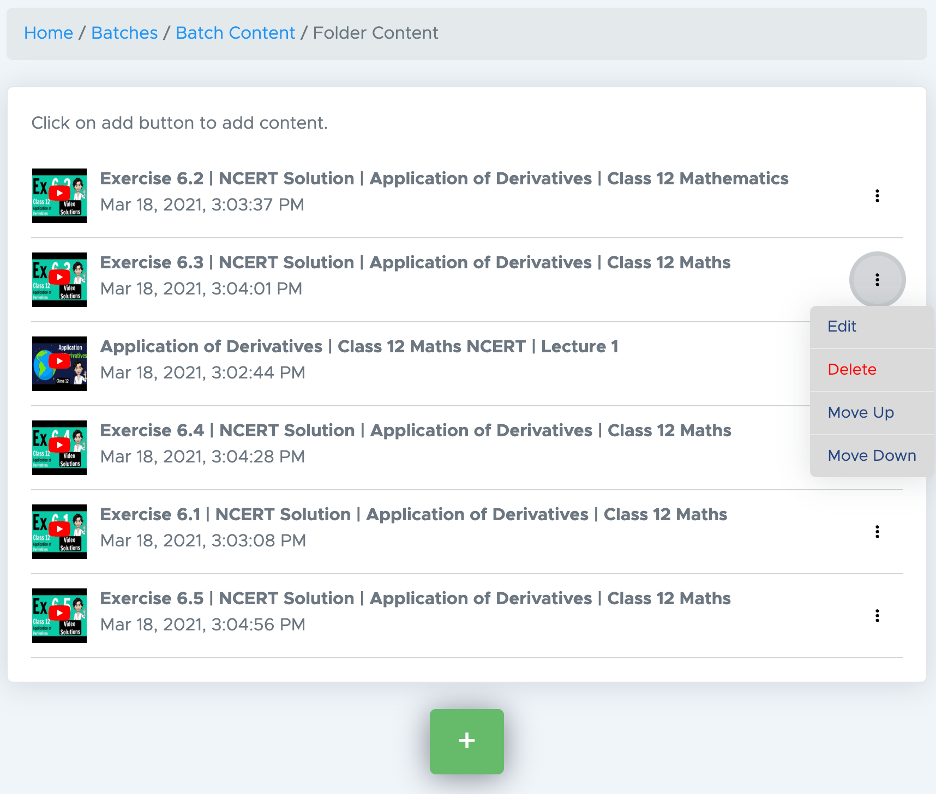
- Video is added. In the same way, you can add more videos to this folder, as well as to other folders.
- You can also share these videos with other batches by clicking on the share button there.
- To edit, delete or move up/down, click on the three dots there and proceed.
(2) Share PDF Files
You may also upload study materials such as sample papers, worksheets, assignments, notes, mind maps, important questions, formula sheets, and other resources in PDF format. These materials can be organized into subject-wise and chapter-wise folders and shared with students for easy access and systematic learning. Here is how you can upload your PDF files to Examin8 Test Generator:- Go to Batches and click Manage
- Scroll the page down to resources and choose Study Material
- Now, click on (+) icon and then click Create Folder.
- Name the folder as “Class 10 Maths”
- Now, click on this folder and go inside.
- Click again on the (+) icon and create a folder named “Real Numbers” as a chapter. Repeat this step and create all chapters there.
- Now, click on the folder name “Real Numbers” and go inside
- Here, click on (+) icon and then select Upload Document.

(3) Share Website Links
The same way you can upload website links too. In place of Document, select Website link, paste the website link such as https://cbseacademic.nic.in/web_material/SQP/ClassX_2025_26/Science-SQP.pdf and give the title as “CBSE Class 10 Science Sample Paper”.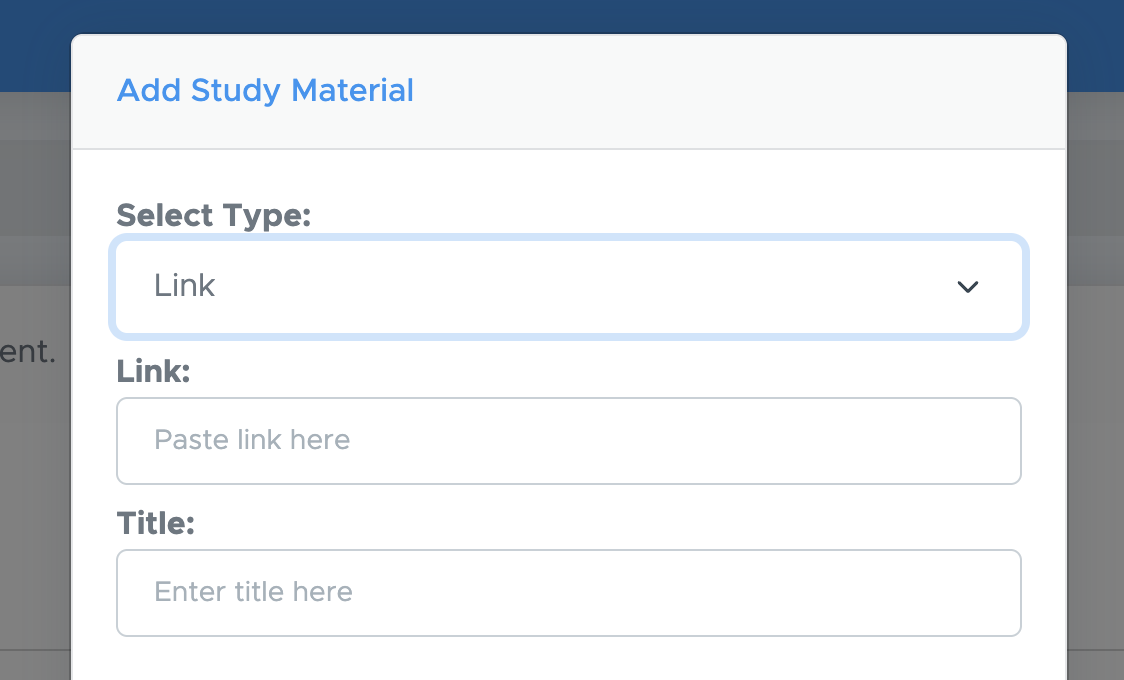
(4) Share Examin8 Papers
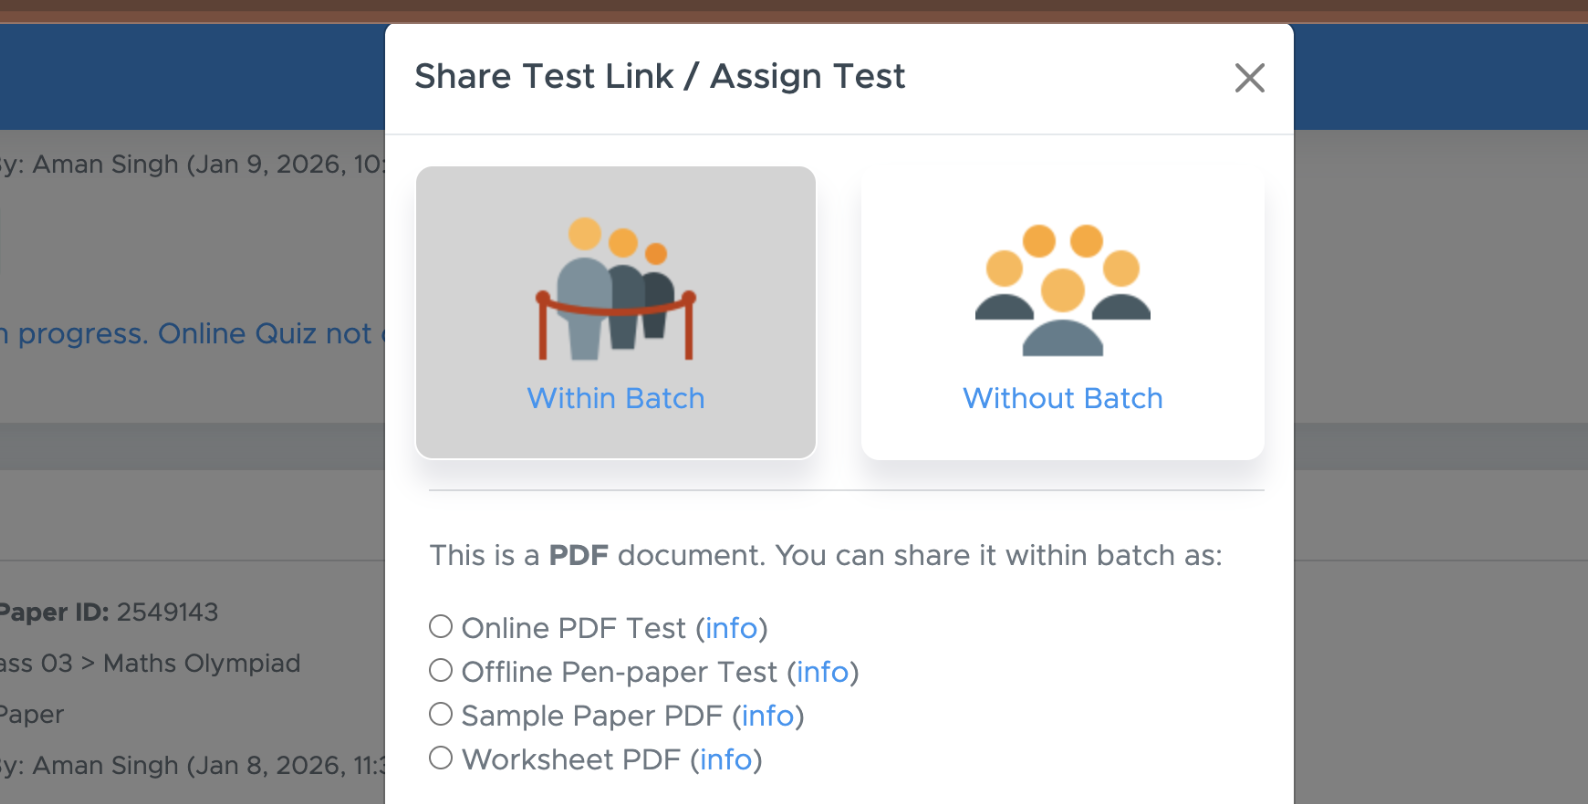
If you want to share a question paper as a Sample Paper or worksheet within a batch without any time restrictions, use this option. Students can access the paper/worksheet at any time to download both the question paper PDF and the solution PDF. The paper/worksheet has no expiry date and remains available as long as the subscription is active. How it works You can create question papers and worksheets as usual and add it as a sample paper or worksheet within a batch under Study Material. Steps to follow:- Go to MY PAPERS on the test generator dashboard.
- Click on the ACTION button below the paper name.
- Click Share
- Select Within Batch
- Now select Sample Paper PDF or Worksheet PDF
- Choose the Batch and Folder
- Click Save
(5) Share myCBSEguide Resources
We at myCBSEguide offer comprehensive, ready-made resources for students, available as:- Revision Notes
- Important Questions
- NCERT Solutions
- Online MCQ Tests
- Practice Questions
- Previous Year Questions
- Create Batch & Add Students
- Purchase Subject Credits
- Assign Credits to Students
Batch Management
Creating a batch and adding students to the batch.
A. Purchase Subject Credits
(1) To purchase subject credits, go to the Examin8 Dashboard, scroll the page down to Student Resources and click “Purchase”.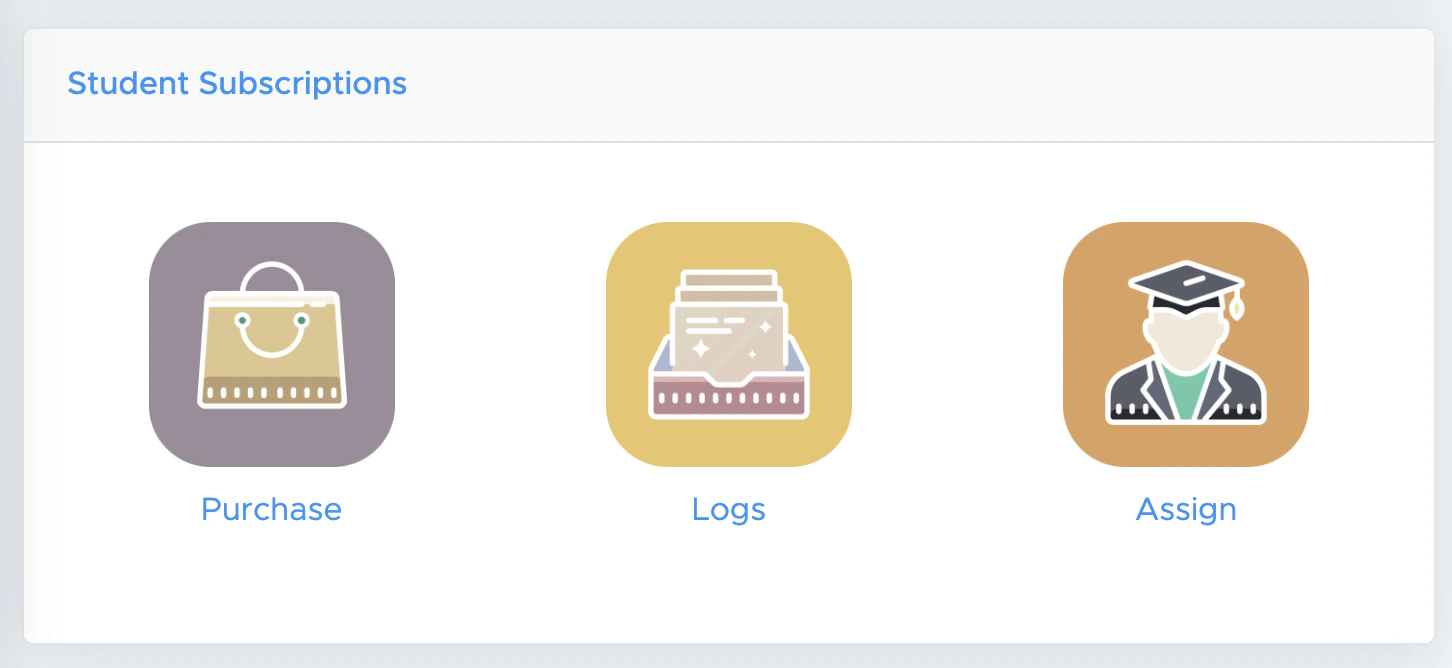

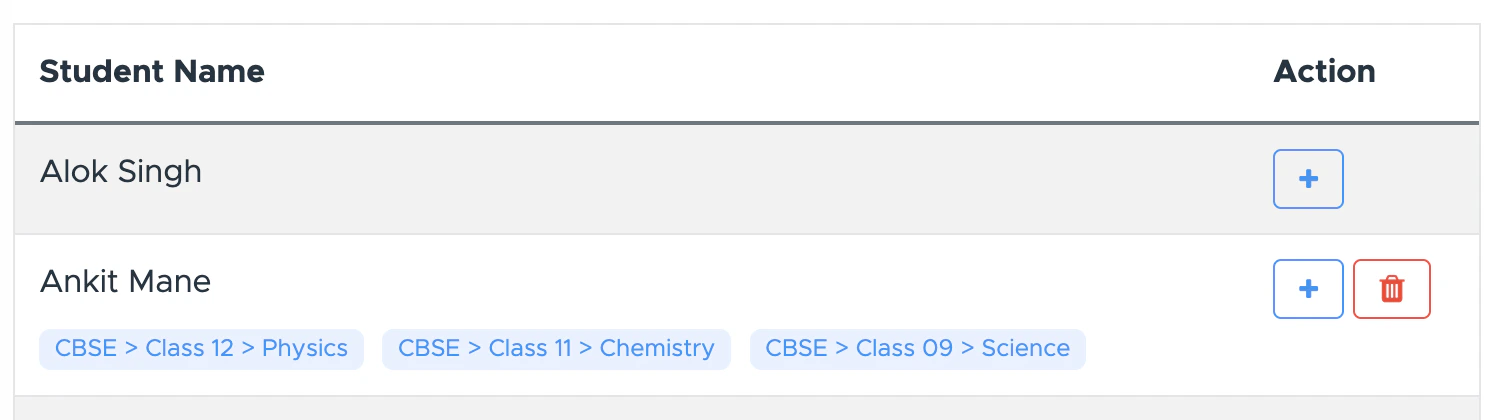
B. Assign Credits to Students
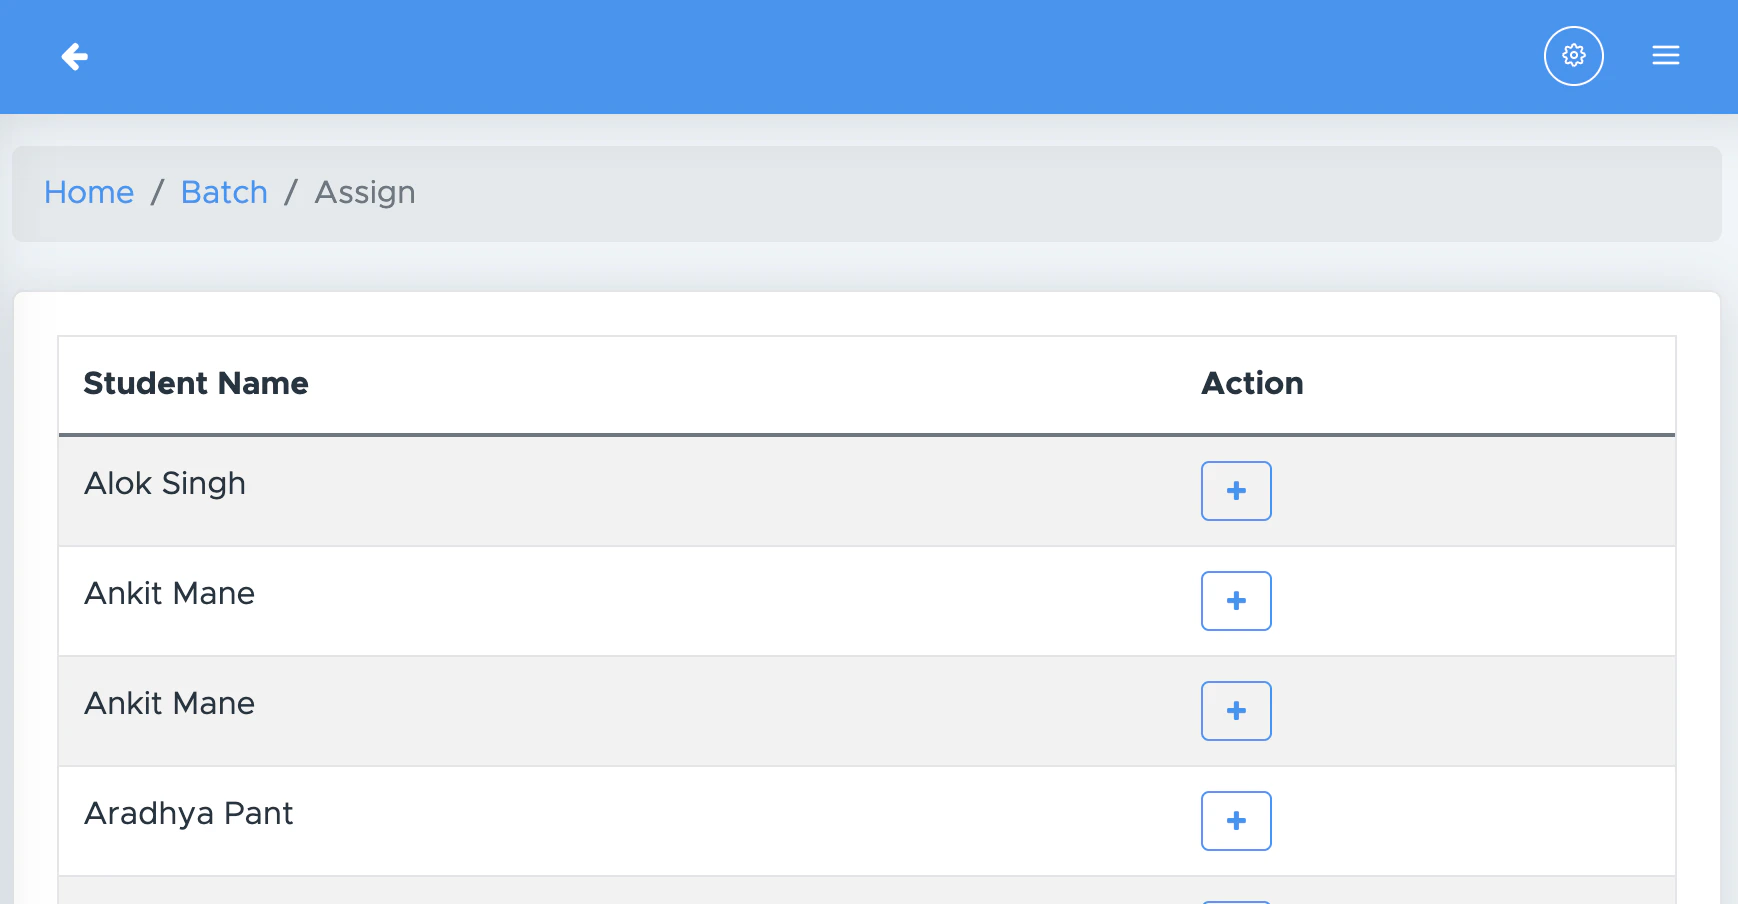
- To assign subject credits to your students, go back to the dashboard and under Student Resources, click “Assign.”
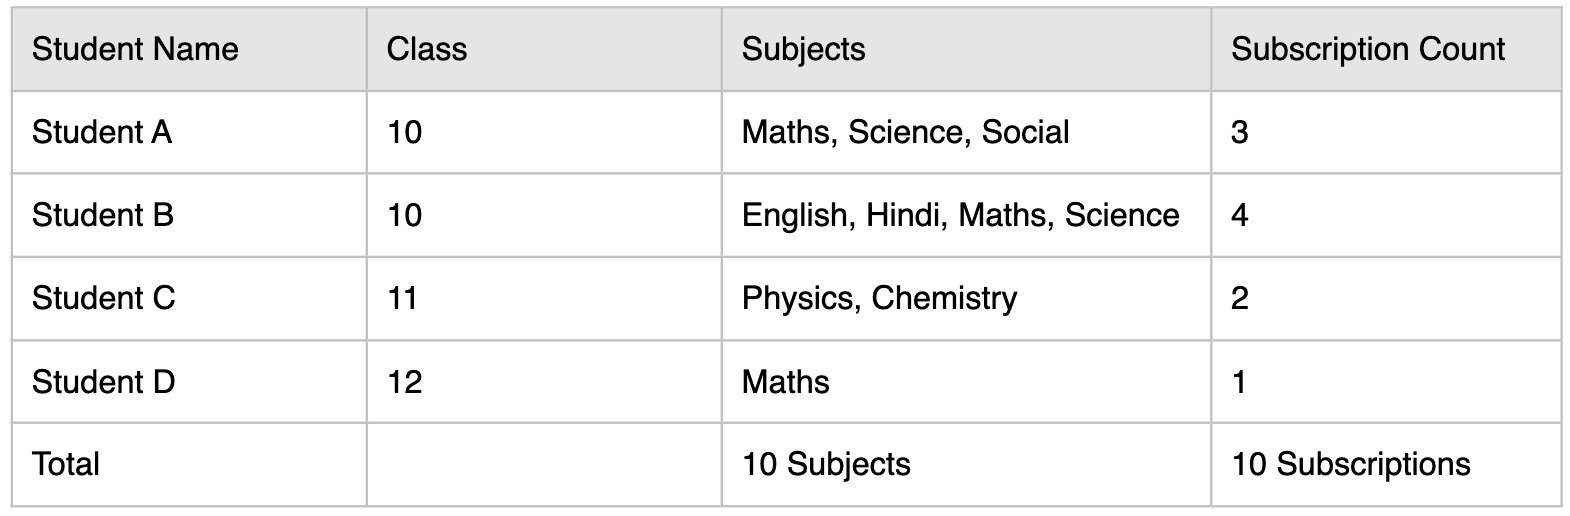
- Here, select the batch, and you will get the list of students. Simply click on (+) icon and choose the class and subject that you want to assign.
- You can assign multiple subjects from multiple classes to a student.
C. Remove/Re-assign Subject Credits
- Since subject credits are valid for one year from the date of purchase, you can remove them from any student at any time and re-assign them to others.
- This makes the system highly flexible—you can purchase additional credits whenever required and assign them accordingly. If your existing credits expire, you can simply renew them by purchasing new ones.