My Question Bank
On the Test Generator dashboard, click on the MY QUESTIONS section under the exam block. Here you will find the following options. Filter – This feature allows you to search and view previously added questions category-wise, making it easier to organize and manage your question bank. Create New Question - Use this button to add a new question to the databank. Upload CSV - Use this option to upload questions in bulk (max 10 questions in 1 file) using a CSV file.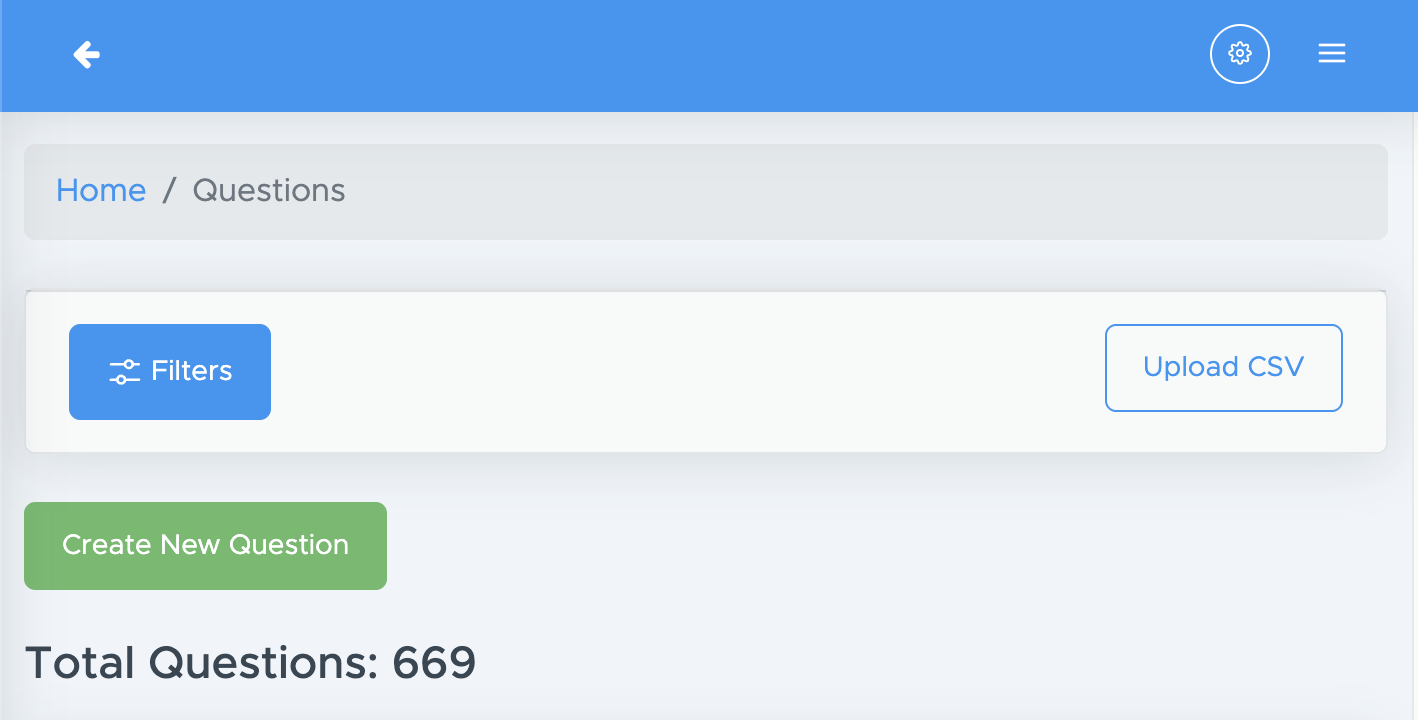
Add Questions One by One
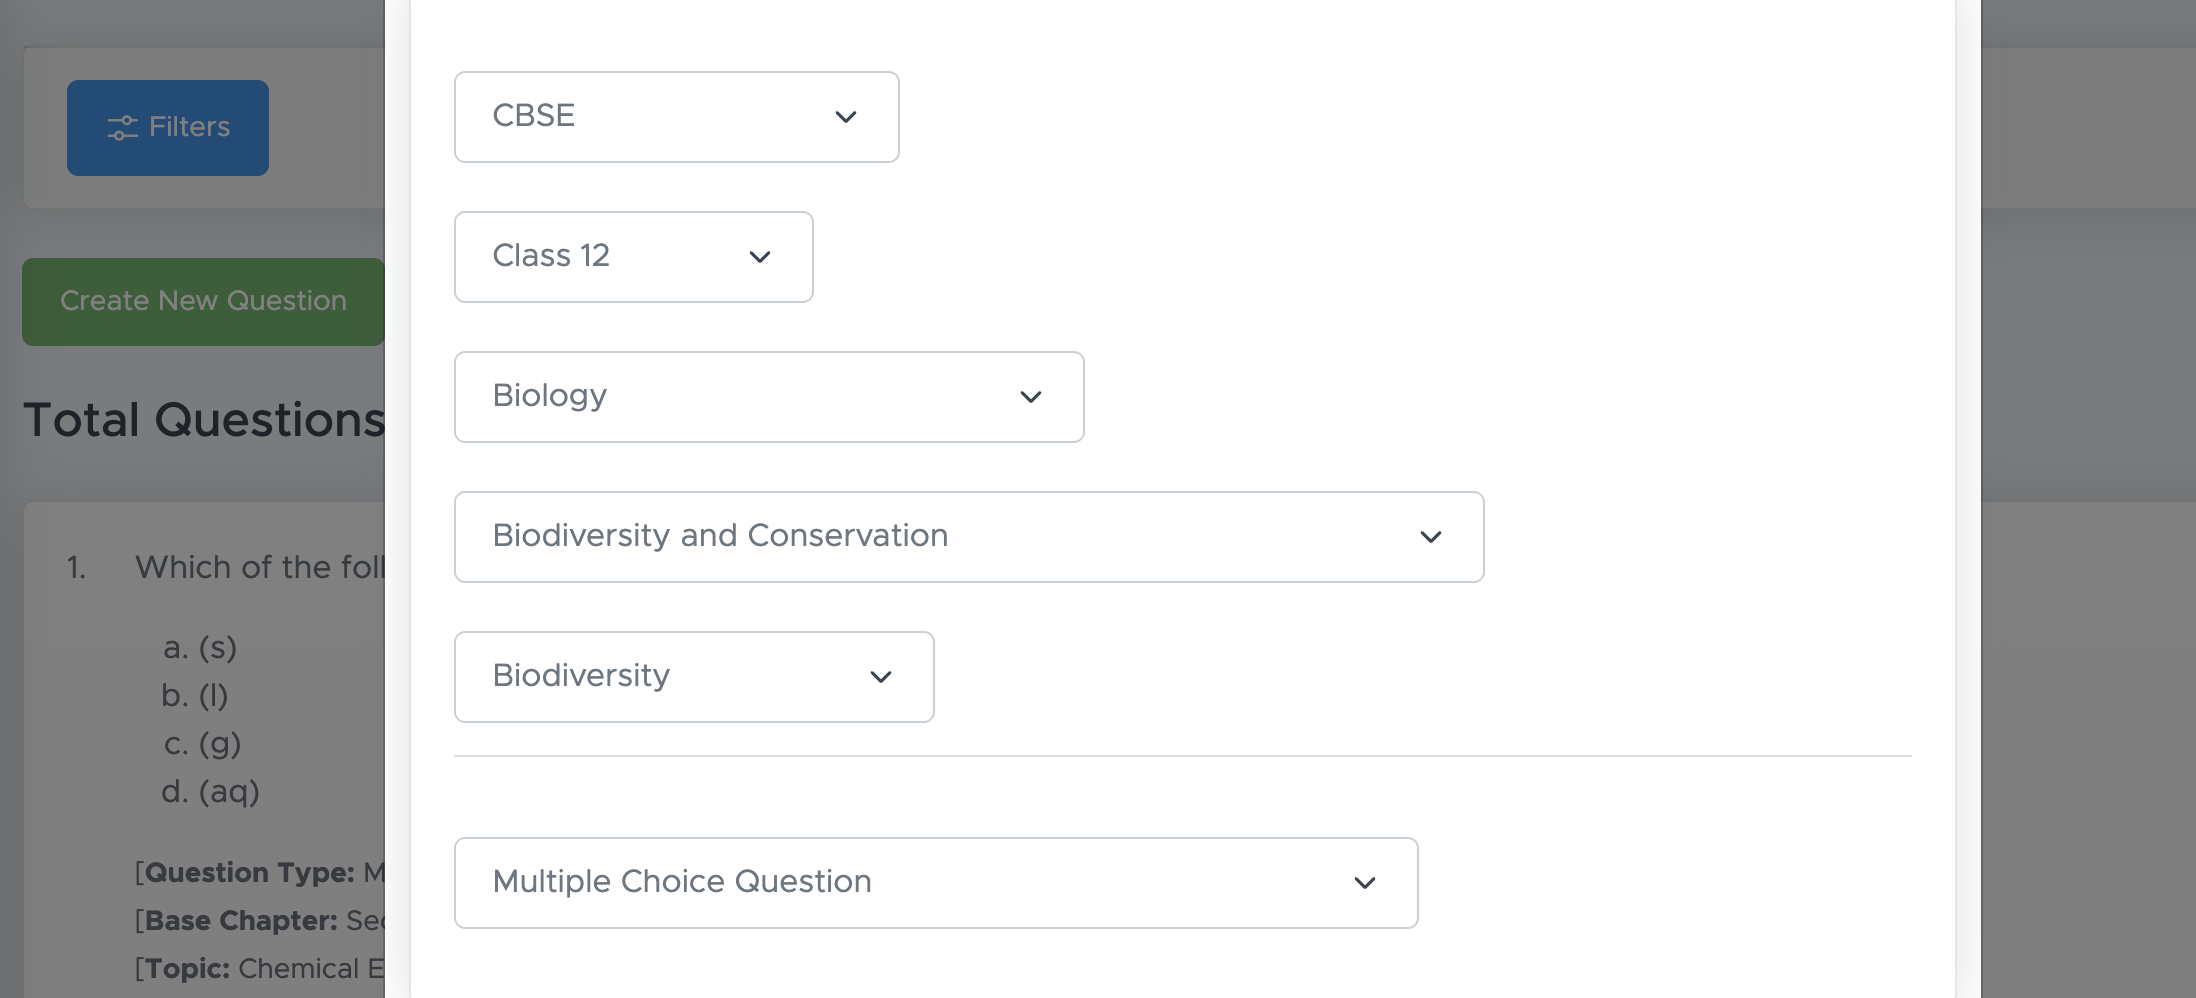
To add a question, click on the Create New Question button. Steps to follow:- Fill chapter and topic details
- Select question type
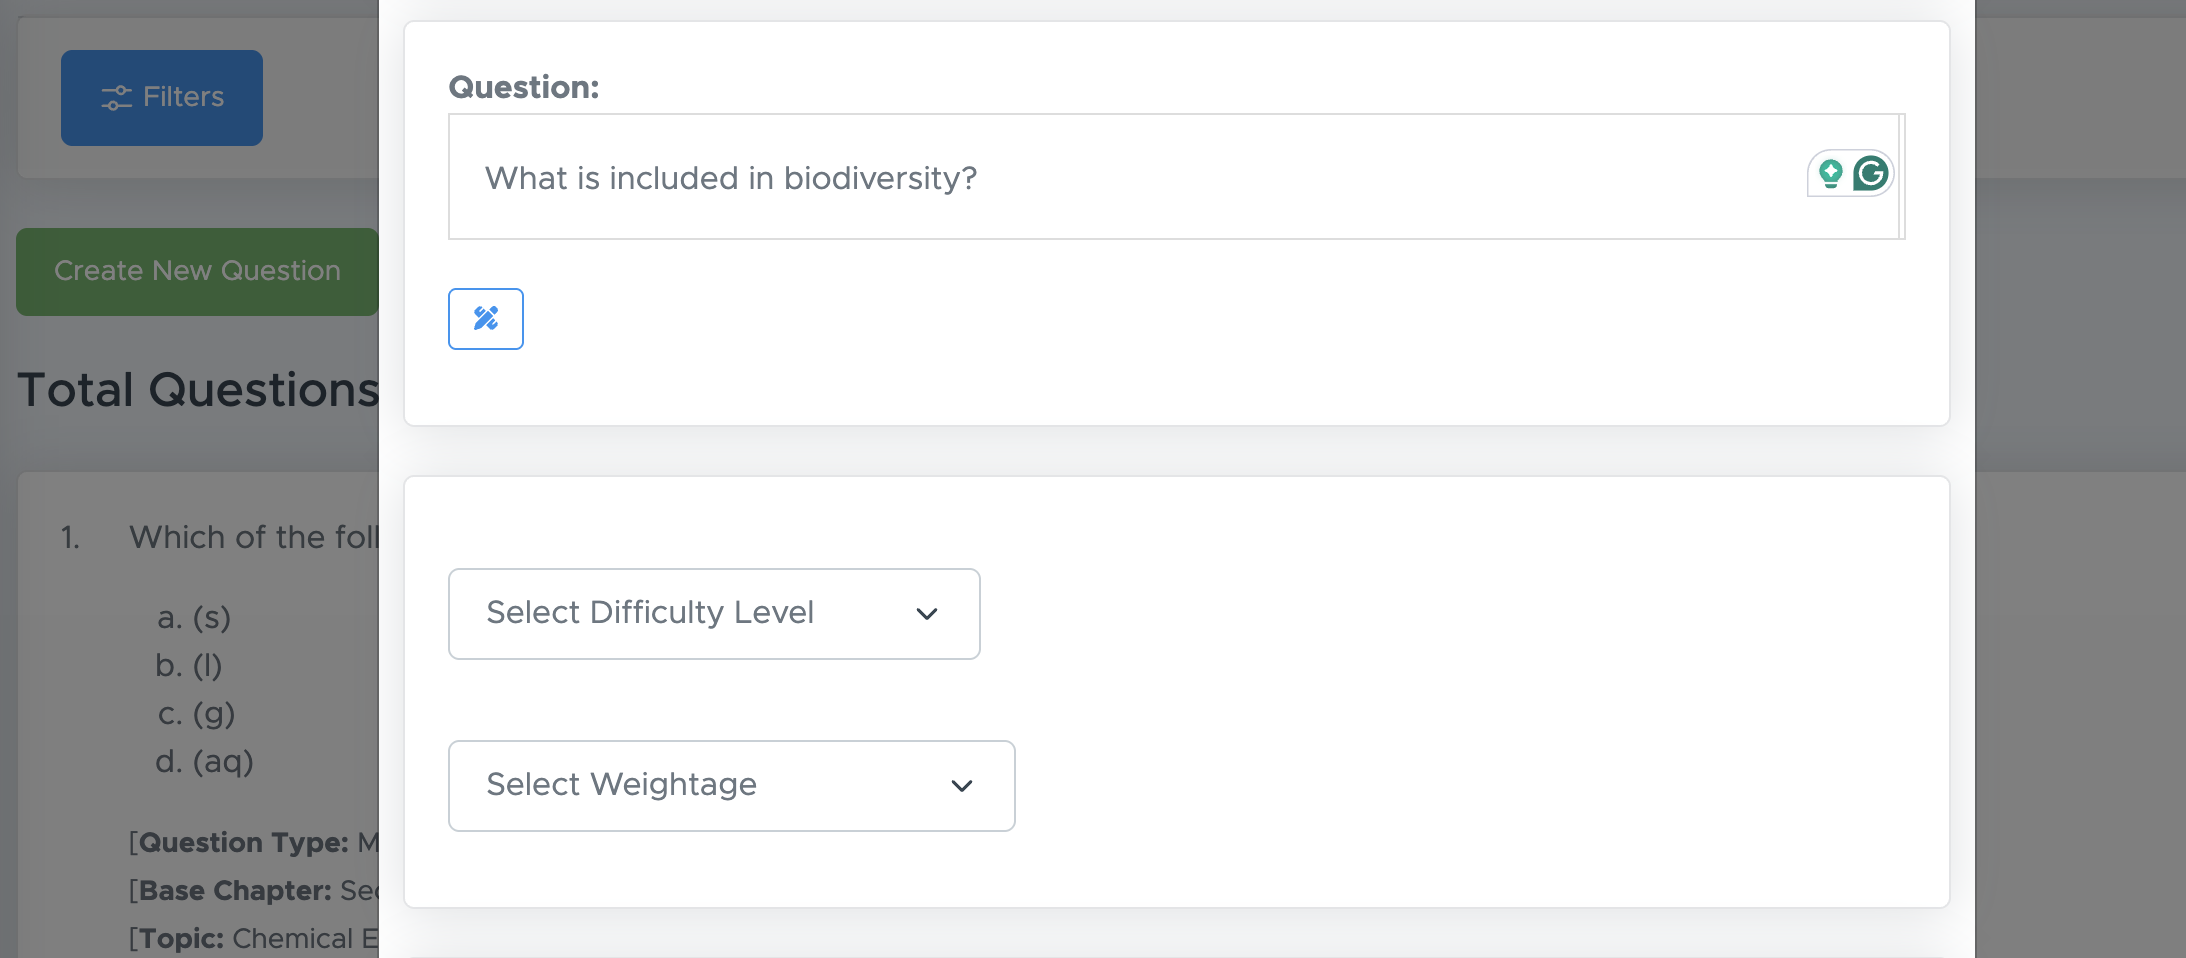
- Type or copy-paste your question text
- Select the difficulty level and weightage
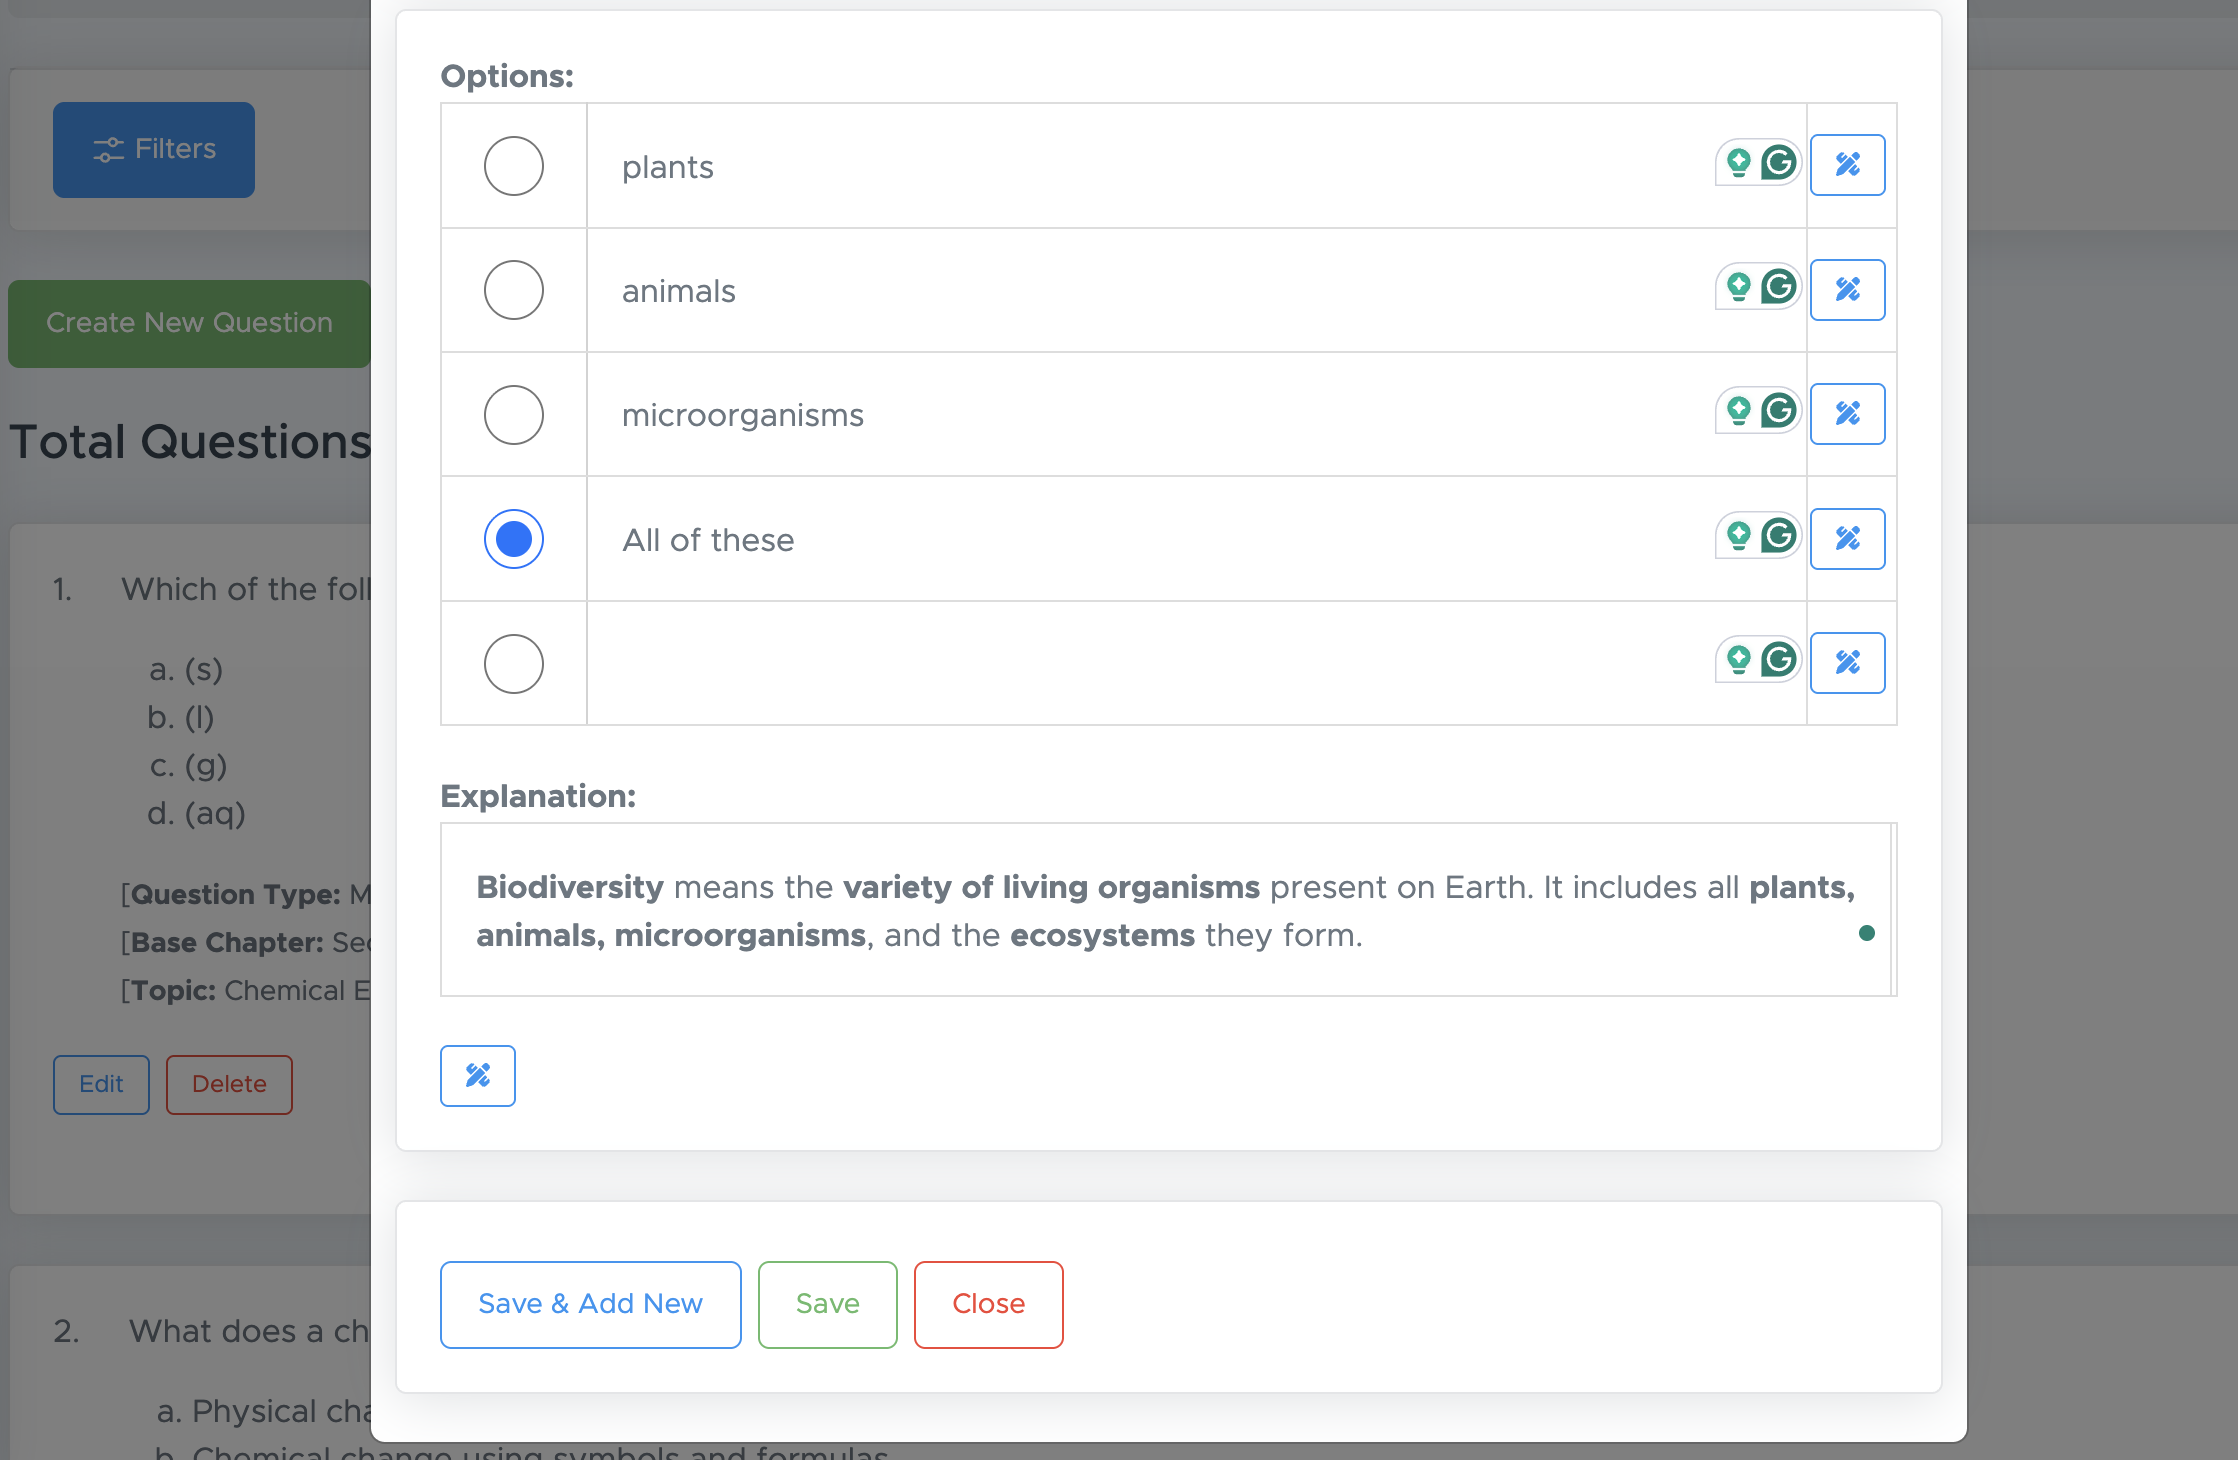
- Enter the options. If it is an MCQ with 4 options, leave the 5th option blank.
- Mark the correct option
- Add explanation. If you don’t want to add an explanation, you can put a dot (.) there.
- Now, if you want to add more questions from the same topic, click the “save and add new” button. You will get all data pre-filled and you will have to add question text and options only.
- Otherwise, click the “save” button and then click the “close” button.
(a) Using Toolbar

- B (Bold): Makes the selected text bold.
- I (Italic): Makes the selected text italic.
- U (Underline): Underlines the selected text.
- Text Alignment: Aligns text (left / center / right / justify).
- S (Strikethrough): Draws a line through the selected text.
- x₂ (Subscript): Writes text slightly below the normal line (e.g., H₂O).
- x² (Superscript): Writes text slightly above the normal line (e.g., x²).
- Tₓ (Clear Formatting): Removes all formatting from selected text.
- Numbered List (1, 2, 3): Creates a numbered list.
- Bulleted List (• • •): Creates a bullet-point list.
- Quotation Marks (❝ ❞): Inserts a block quote.
- Image Icon: Edit an image already added to the page.
- Table Grid: Inserts a table.
- ABC✓ (Spell Check): Checks spelling and grammar.
- Σ (Equation / Math Tool): Inserts mathematical symbols or equations.
- Image Icon: Upload images or copy-paste an image
- Math Icon: Converts LaTex formula to Latex equation
- Graph / Chart Tool: Converts LaTex table to a normal table
- Spell Check: Checks the spellings
- Align Left: Aligns text to the left.
- Align Center: Aligns text to the center.
- Align Right: Aligns text to the right.
- Justify Text: Aligns text evenly on both left and right margins.
(b) Inserting Tables
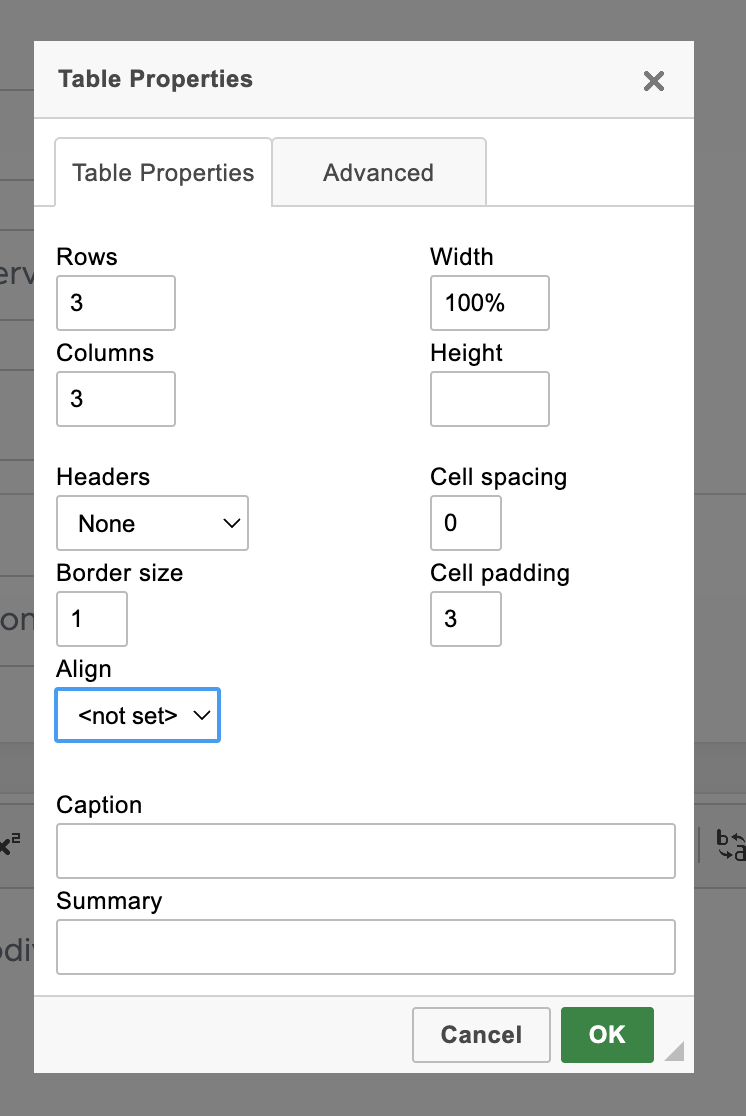
To insert a table, click on the table icon on the toolbar. Then enter rows and columns. Keep other settings as below:- Rows and Columns - As per your requirement
- Width: 100% or keep blank. Delete 500px that was prefilled there.
- Height: Keep blank
- Headers: None or as per your requirement
- Border Size: 1 (Don’t leave it blank or 0)
- Align: Keep not set.
- Cell Spacing: Must put 0 there. Don’t leave it blank
- Cell Padding: Must put 3 or 5. Don’t leave it blank.
- Caption: Leave blank
- Summary: Leave blank

(c) Adding Math Equations
Adding mathematical equations and special characters to the question is two step process. Step-1 - Get the equation in LaTeX format There are many LaTeX equation editors available that can help you create mathematical equations in LaTeX format. Here is one such editor that you can use easily.- Open https://latexeditor.app/
-
Select the icon that you want to create. For example, to write a fraction, select first a/b icon and replace a and b with your numbers.

- If the equation is displayed correctly, simply copy the LaTeX code. In the above case, the code is “\frac2345”
- Now, come back to your question page and click on the place in question text where you want to add this equation, and then click Σ icon on the toolbar.
-
Delete the equation already written there and paste yours.

- It will display your equation there. If it’s working fine, click the OK button. Your equation will be added.
- To edit this equation, just double-click it and you will be able to edit it.
- In the same way, you can add complex mathematical equations and special characters.
(d) Adding Images
Adding images to the question is very simple on Examin8. Click on the image icon as shown below:

- In the Width box, enter the size in pixels (for example, 100 for 100 px).
- The Height box will adjust automatically.
- Make sure the black lock icon remains in the locked position so the width–height aspect ratio stays correct.

(e) Adding Images Directly
- If you are in Windows device, use **Windows key + Shift + S **to take a screenshot of the image from any webpage or document.
-
Now, click on the image icon on the toolbar in the Examin8 page where you are adding the image.

- Click inside the pop-up box and use Ctrl+V to paste the image. All other steps are the same as above.
Add Questions using CSV File
The first step to use this feature is to download the sample CSV file. Separate file formats are available for each question type. It is recommended to download the appropriate format first and then add your questions to it.(1) Download Sample File
Click on Upload CSV, fill in all the required fields as shown below, and then download the sample file.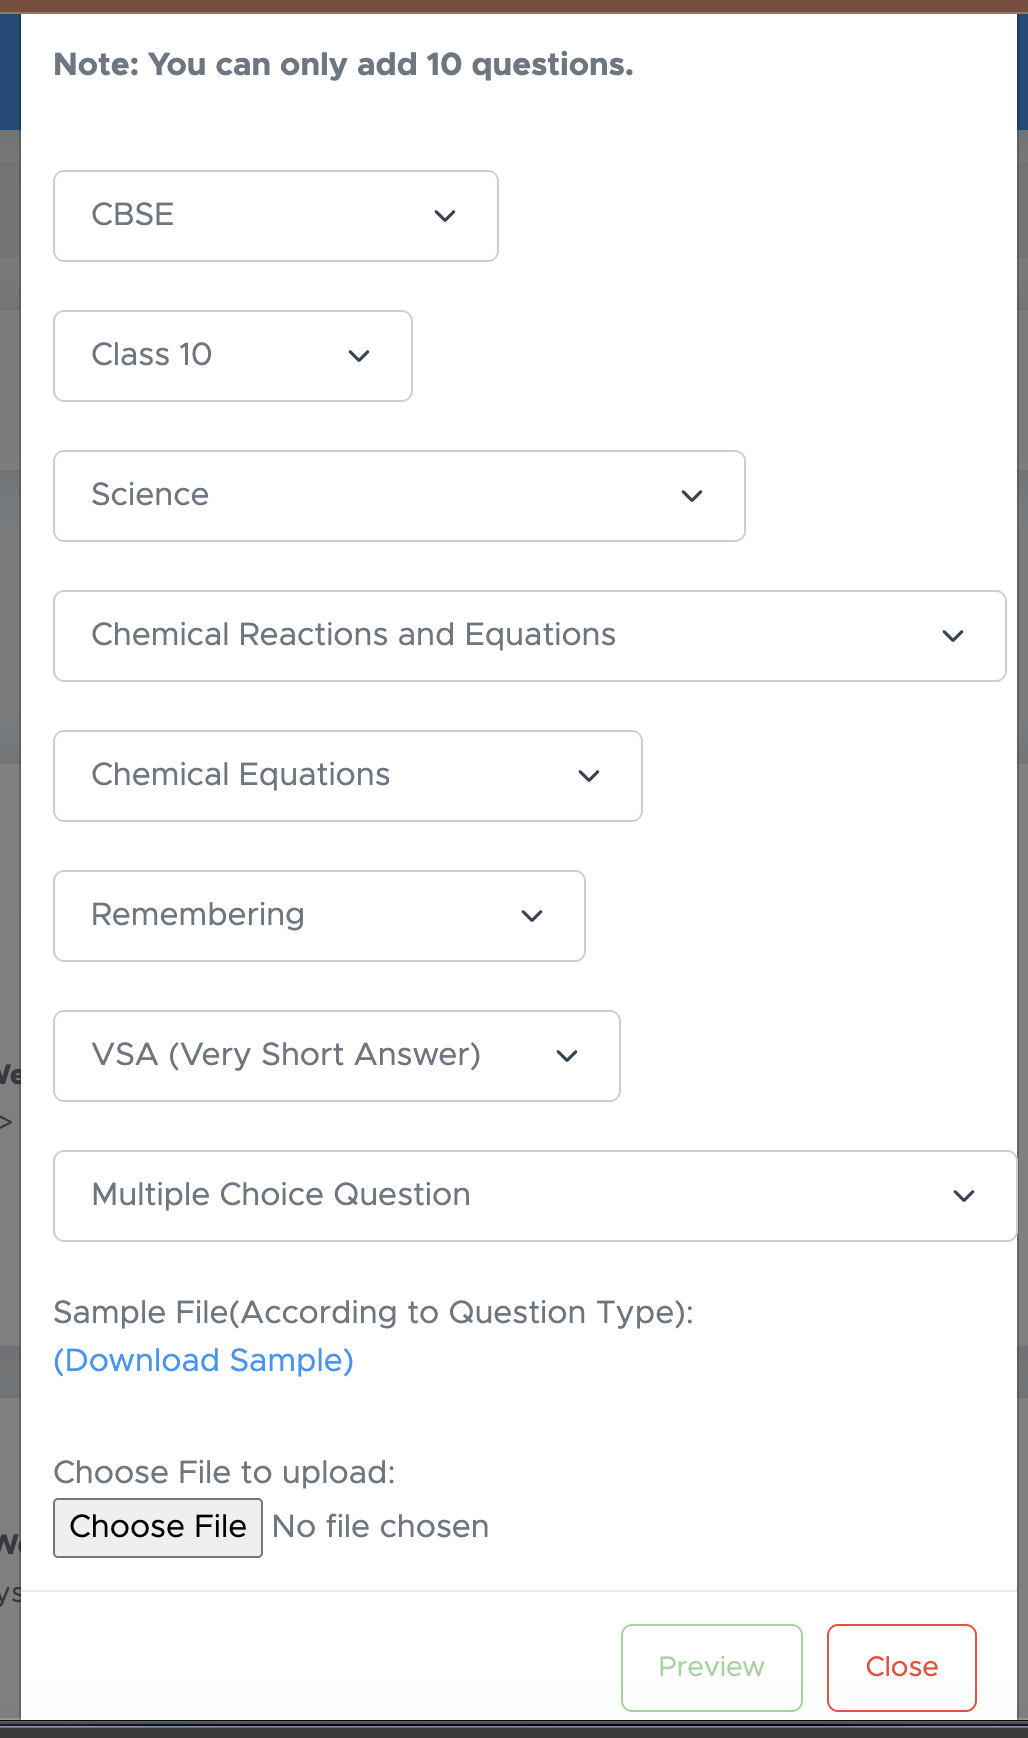
(2) Add Questions in CSV File
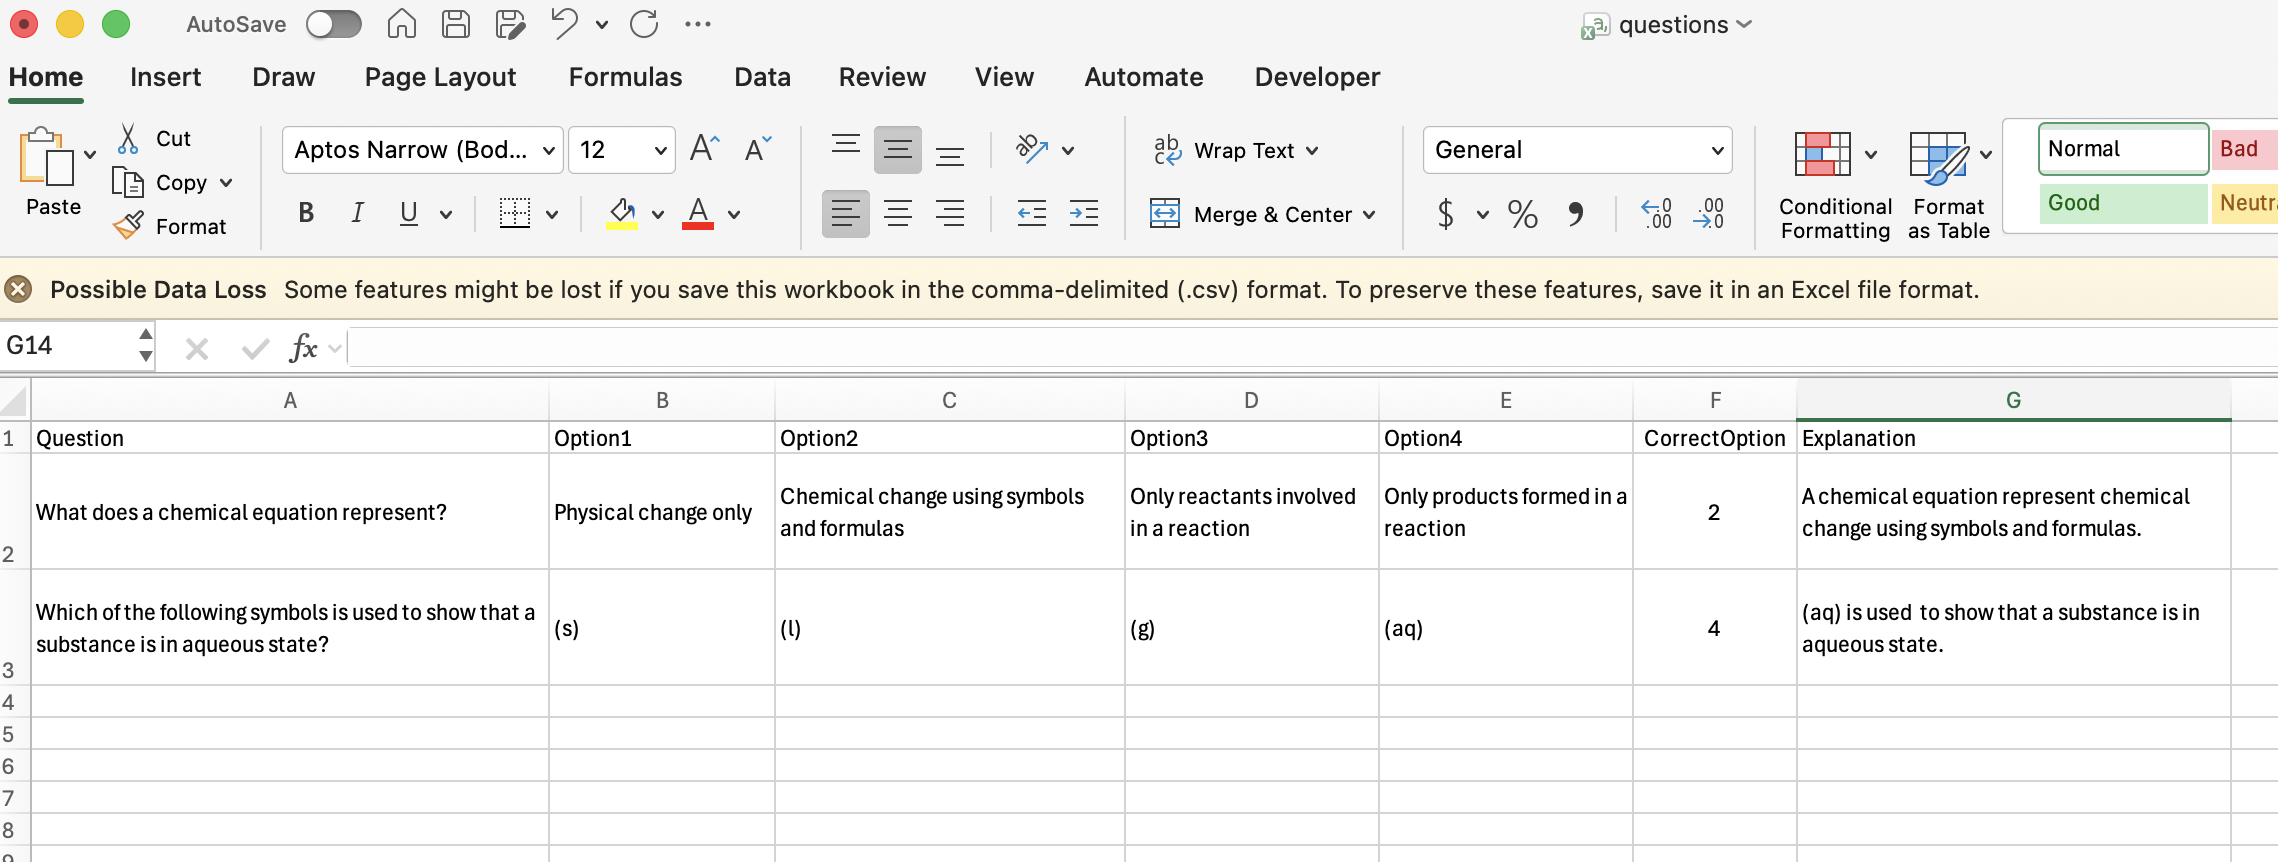
Limitation: You can add only plain text in the CSV file. There is no direct option to include images, mathematical equations, or special characters in a CSV file. Even if you add them, they will not be uploaded to the Examin8 question bank. We have selected MCQ-type questions. Here is the blank CSV file.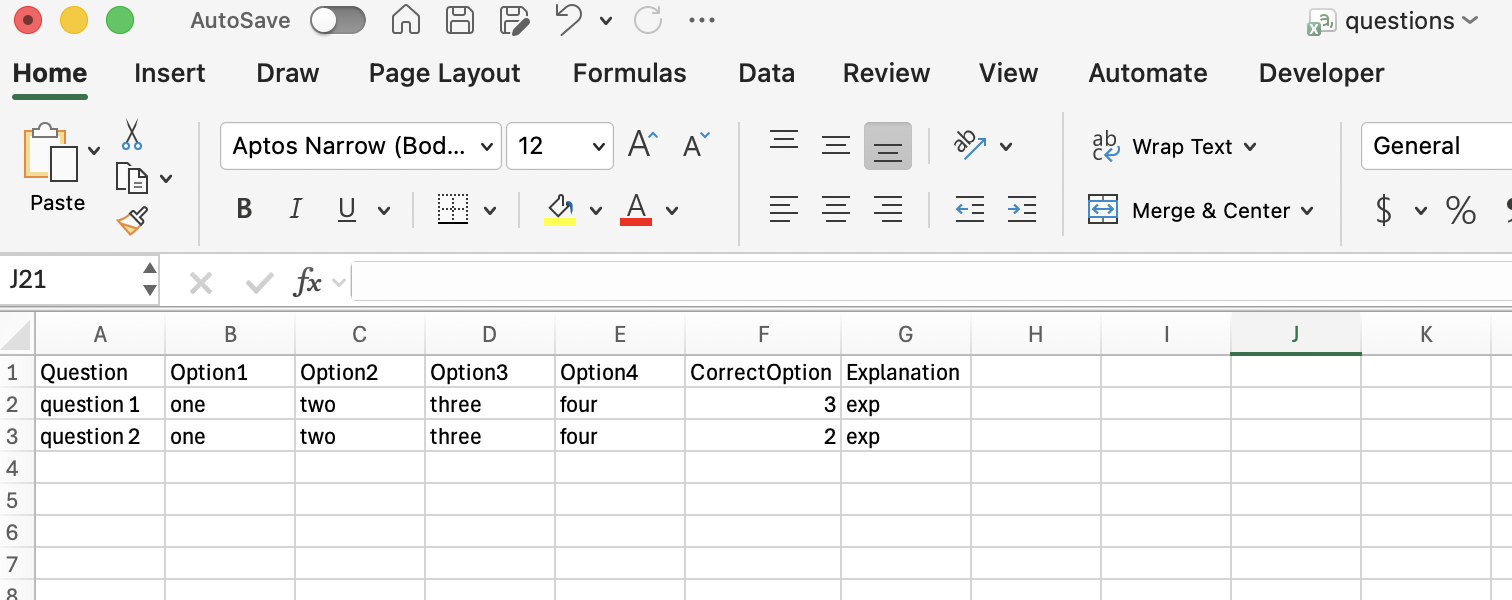
(3) Upload CSV File
Fill all the fields as earlier and then click the Choose File button there. Select the file from your device and upload it. Click the Preview button to check the questions. It will show you questions one by one. Read the questions and make necessary changes if required and then submit.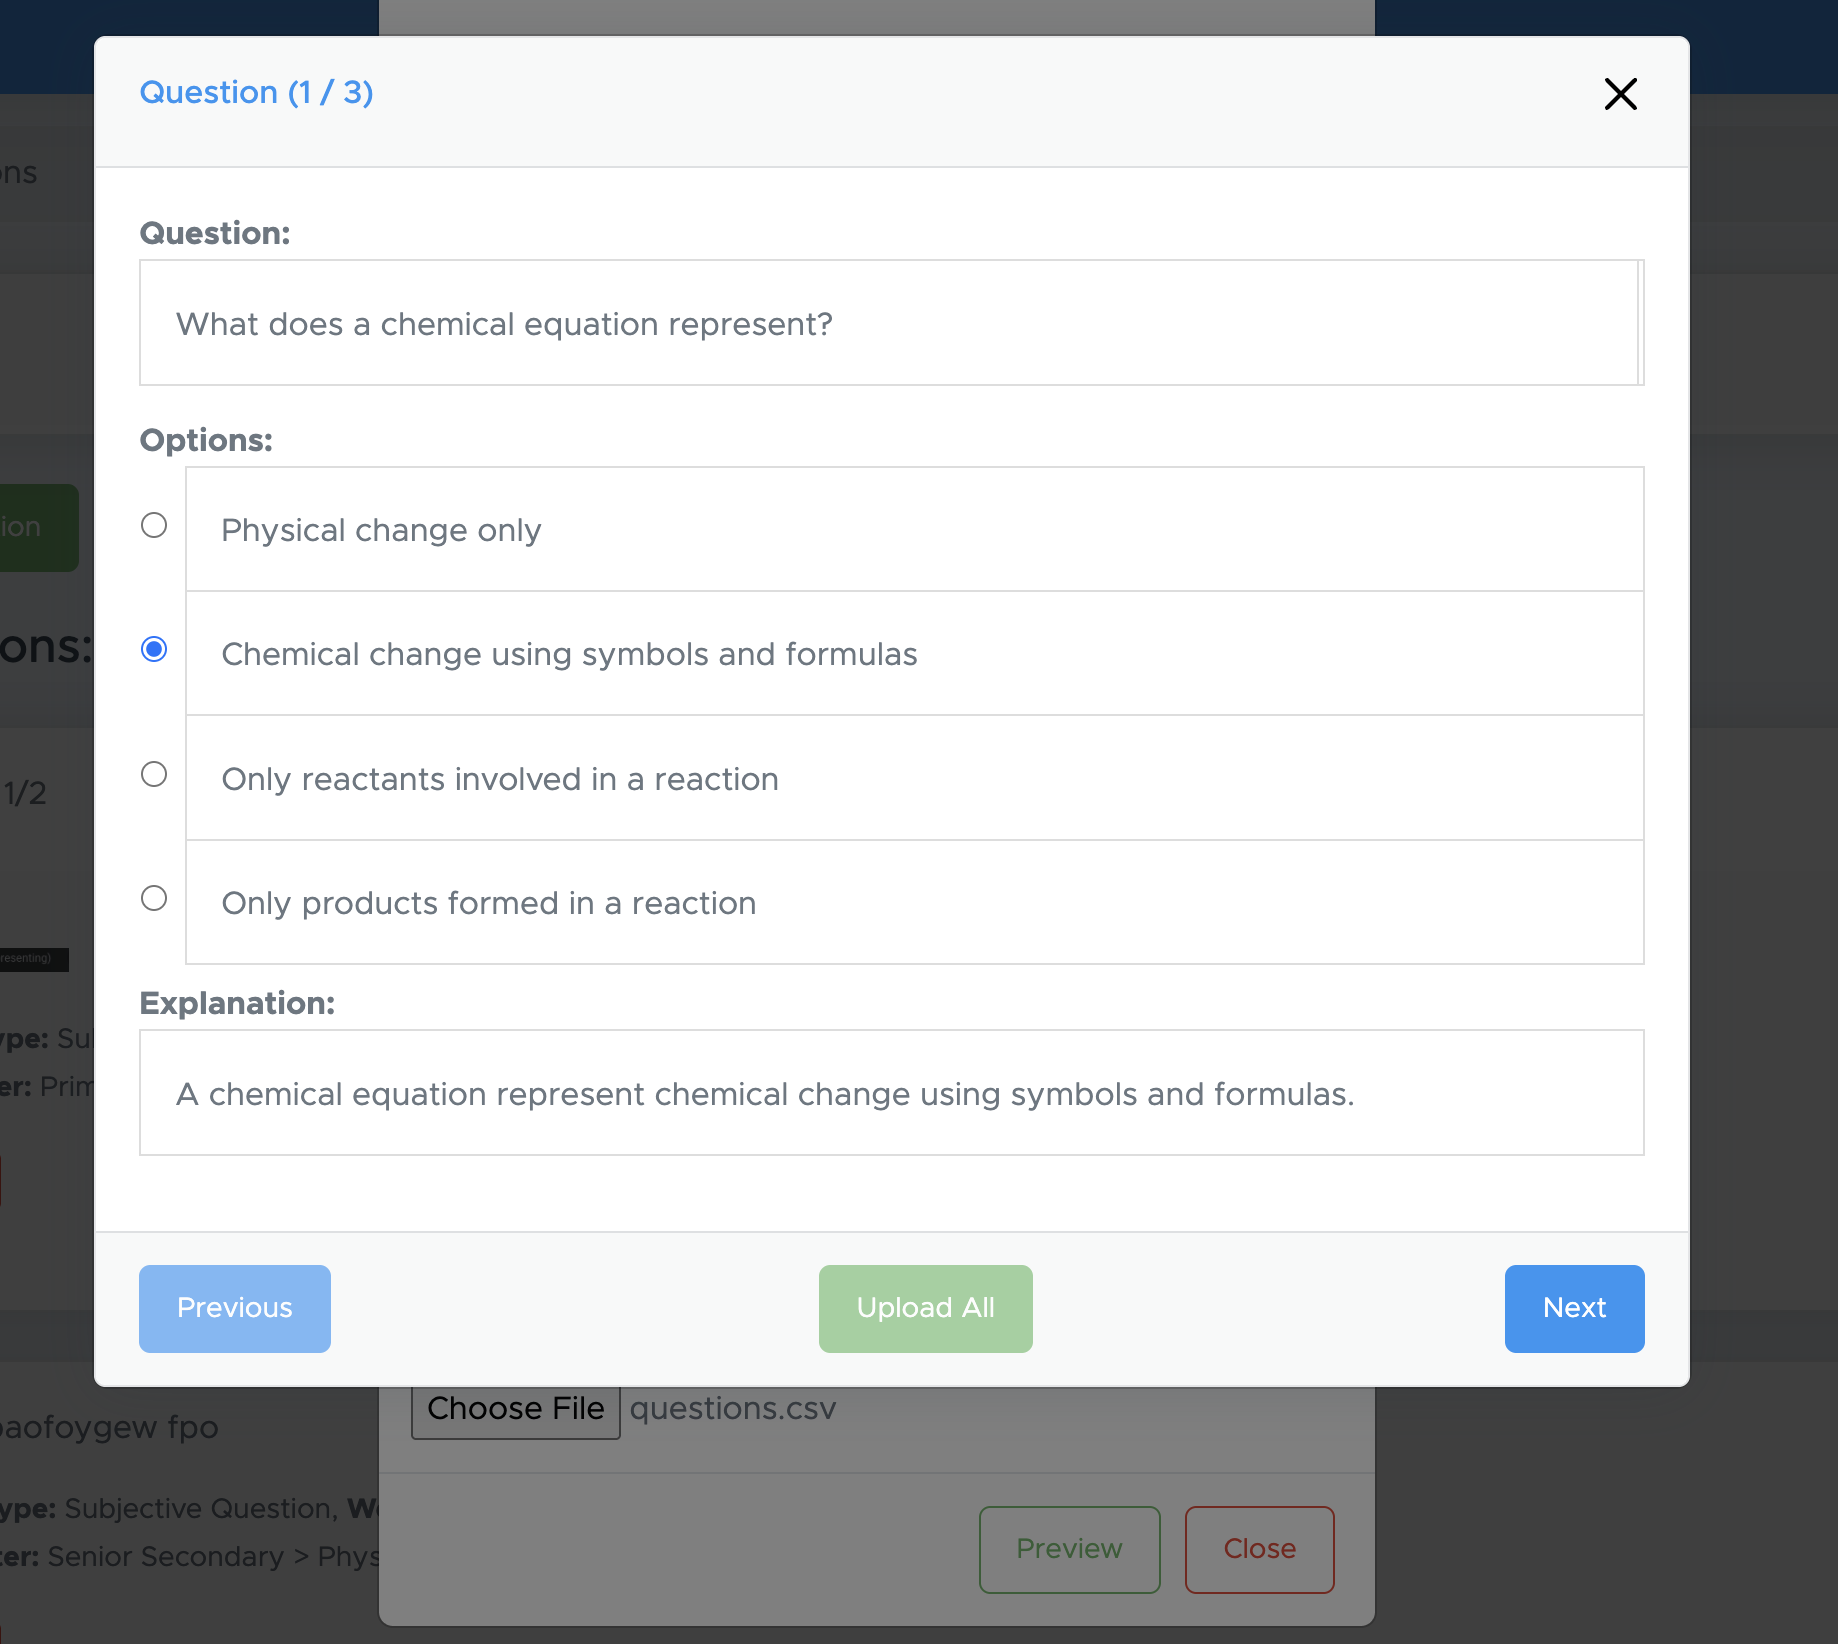
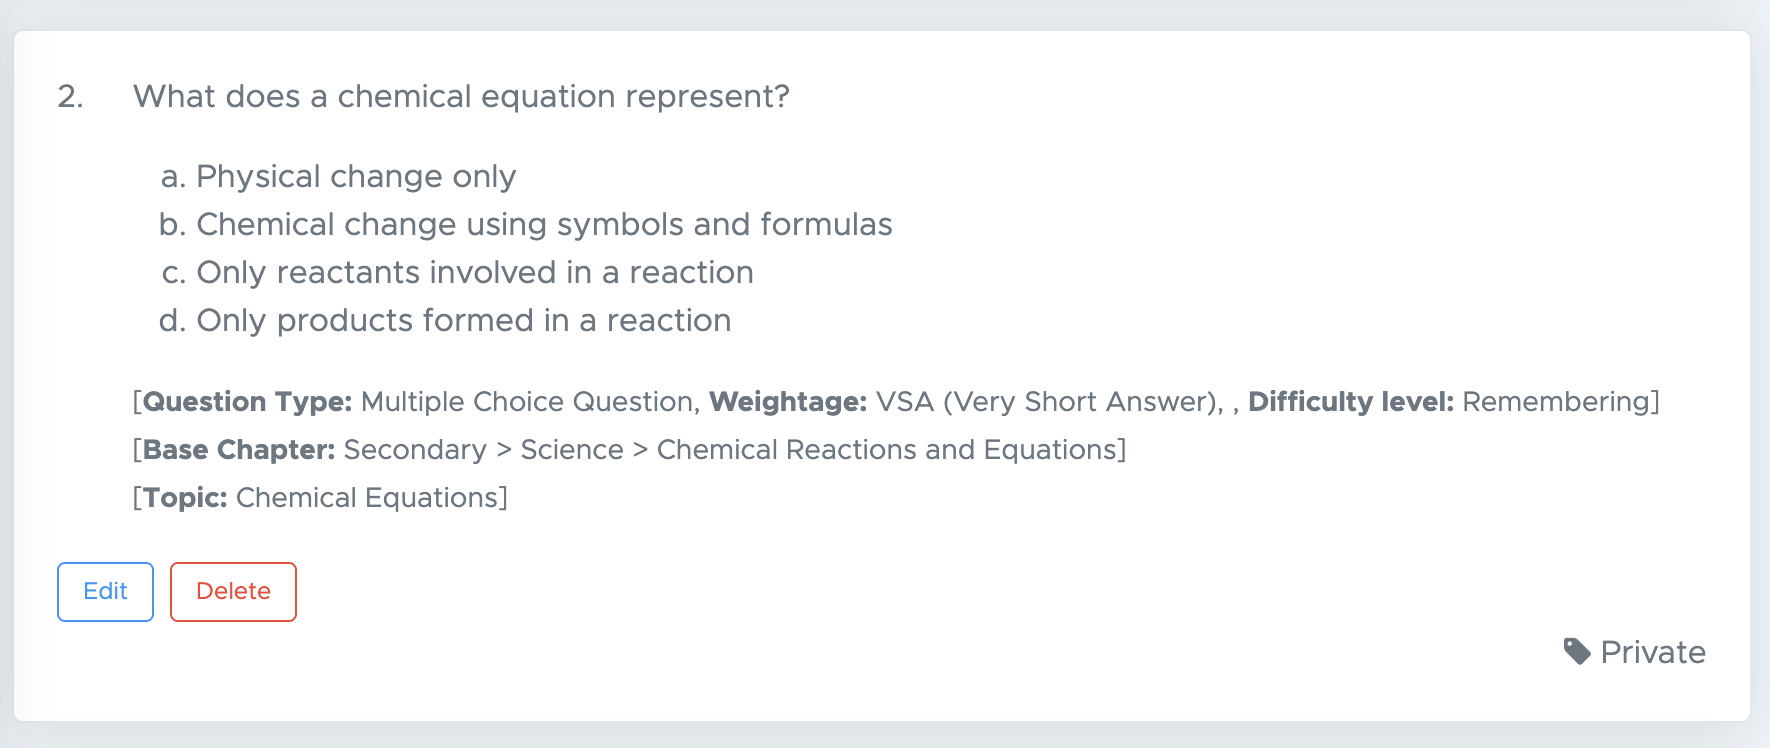
(4) Edit or Delete Question
If you still find any issue with a question, you can edit it at any time by clicking the Edit button provided below the question text.